To complete a hardware-first installation
Complete the setup using these instructions if you have already connected a USB or parallel
cable to the printer and computer, and the
Found New Hardware
wizard appears.
1
On the screen that allows you to select a method to locate the driver, select the advanced
option and click
Next
.
2
Select the check box that allows you to specify the driver location, and ensure the other
check boxes are cleared.
3
Insert the Starter CD into your CD-ROM drive. If the CD menu appears, click
Exit
twice to
close the CD menu.
4
Browse to locate the root directory on the Starter CD (for example, D:), and then click
OK
.
5
Click
Next
and follow the onscreen instructions.
6
Click
Finish
to close the
Found New Hardware
wizard.
If you have connected the parallel or USB cable to your printer and turned on the printer, do
not turn off the printer or unplug the cable from the printer when the printer setup program is
running. If you do so, the setup program will not finish.
Do not allow the hardware wizard to perform an automatic search for the driver.
Upon completion of the installation process, the hardware wizard will automatically launch
the printer setup program. This may take more than a minute. For Windows 98 and Me,
you must complete the setup program at this point if you wish to install a non-English
driver.
The setup program provides options to install non-driver components such as the Toolbox,
which is recommended to install. For instructions on completing the setup program, see
“To complete a software-first installation (recommended)”
.
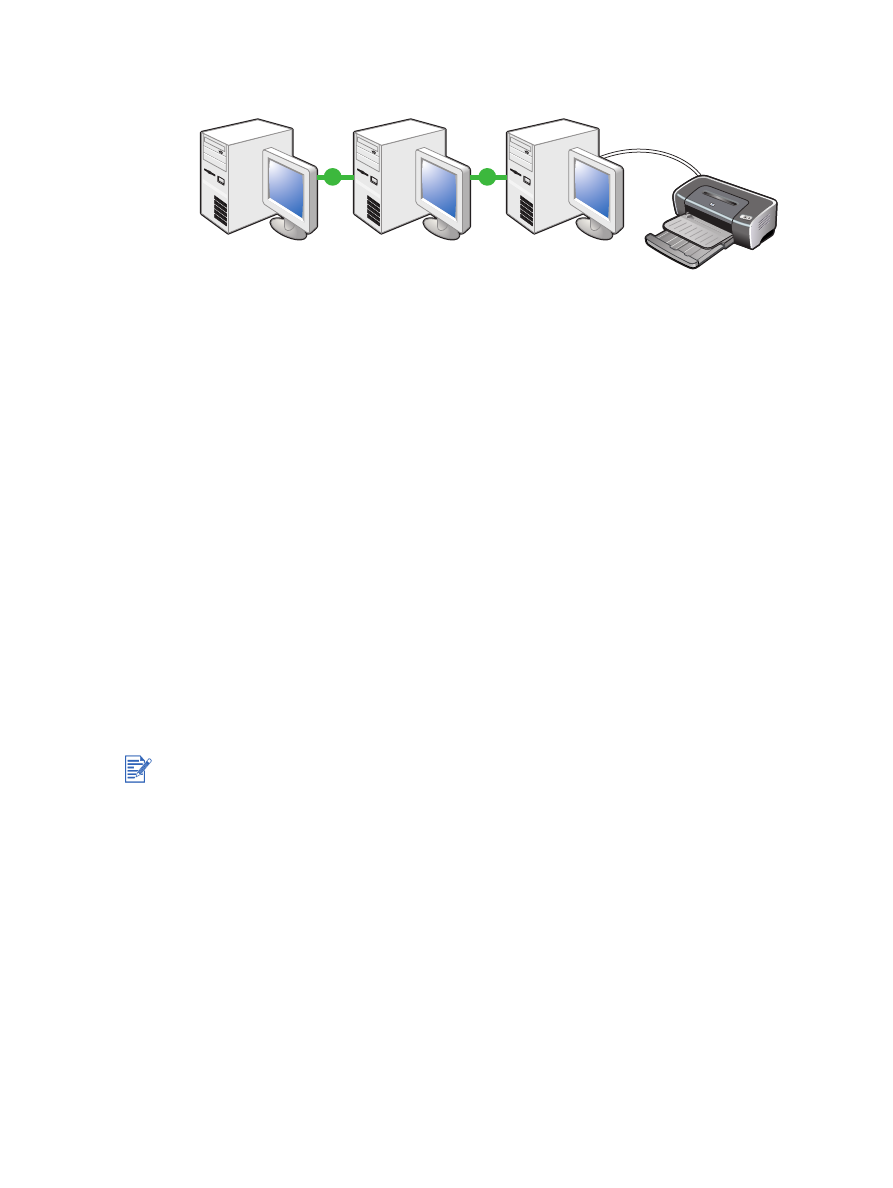
If you did not share the printer using the setup program and wish to do so later, see
“Sharing the printer on a locally shared network (Windows)”
.

2-8
ENWW